It's been a year since posting. I don't frequent this forum, but I recently installed another PSU5, thought about this topic, saw @Goiga's comment and a post by another:
viewtopic.php?f=9&t=10394&p=11247#p11247.
- Flipping the bolt such to place the smaller head on top is quick and easy. A good approach.
- Most will likely continue to use the TO-3 insulator and use a smaller nut
Mounting the PSU5 is also discussed here:
viewtopic.php?f=9&t=10410
TL;DR
For the pedantic (me), I offer a few pictures from my last install to think about.
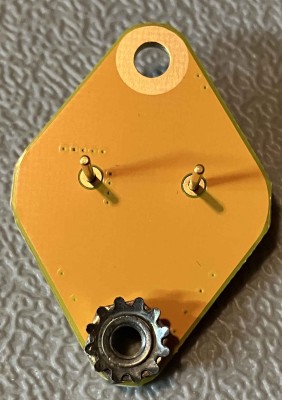
In my case, I like to place a nylon washer on top to separate / insulate the topside nuts. This means I get ground from the underside so I need to assure there's nothing to grind/short. I won't be using the typical insulator (most people will definitely keep the insulator). Well, the underside of the PSU5 does not seem to have any traces just 2 contacts for ground. Great, easy peasy. To establish good continuity a
big nut will sit on those contacts:

- The underside of an ezSBC PSU5 No Noise
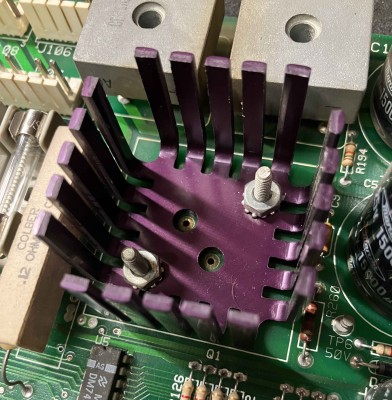
Although absolutely not necessary, I continue to use the heat sink. Here I use two nuts for contact to ground, raising the PSU5 off the heat sink:

- Raising the PSU5
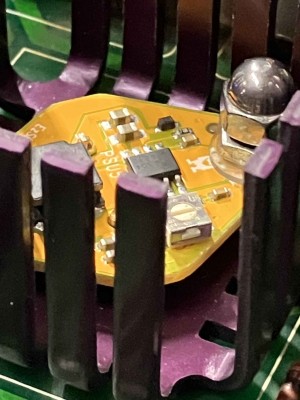
The final result shows the nylon washer, that the #8 nut won't grind into the circuitry on the top, and I added an acorn nut for good looks:

- Final result
Last for those who have never worked with a TO-3 component-package (a can), your PSU5 only inserts one-way: